


Siân Davies Cole, director of outsourced paraplanning firm Plan Works, offers some shortcuts she uses to speed up her report writing.

As an experienced paraplanner, I have managed to get a really good understanding of the things that will always need to be done manually (and will be time-consuming) vs the things I can do much more quickly…. although I might have to learn how they can be done quicker. Hence – Paraplanner Hacks!
If you are just coming into paraplanning, you will have realised that many firms use Microsoft Word for their suitability reports – and most other documents. Sometimes the base template is generated from a piece of software like Genovo or possibly a back-office system like iO Document Designer.
Either way – you have probably worked out that you absolutely need to know how to use Word easily and quickly.
I don’t mean the day-to-day typing or formatting of text, but the other features and, more importantly, shortcuts! I spend a lot of time coaching paraplanners in their day-to-day role, and I keep getting told that I’m a whizz, so I wanted to share some of the hacks I’ve picked up. Some are obvious, but hopefully you will pick up one or two that you didn’t know.
Lots of the shortcuts I use on a daily basis apply across Windows. These are my top hacks:
1. Copy & paste
I make the assumption everyone is as geeky as me with shortcuts, but I find most people know this one. Ctrl + C to copy, Ctrl + X to cut and Ctrl + V to paste. It’s useful for words, paragraphs or cells in spreadsheets.
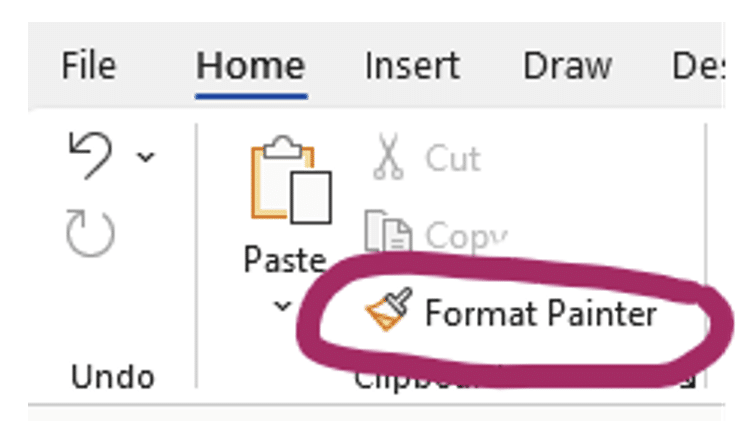
2. Format Painter
This is probably one of the most useful features in Word and Excel. I’ve heard from many paraplanners how game-changing this one is, and I totally agree. The shortcuts are Ctrl + Shift + C and Ctrl + Shift + V. It’s the little paintbrush in the Edit tab, and it basically allows you to highlight one bit of text then copy the formatting to another bit of text. By formatting, I mean font, font size, colour, bold/underline, line spacing, etc. It’s also really handy when Word for some reason doesn’t let you take the highlighting off a word or section…. And we paraplanners use the highlight feature A LOT!
3. Quick Access Bar
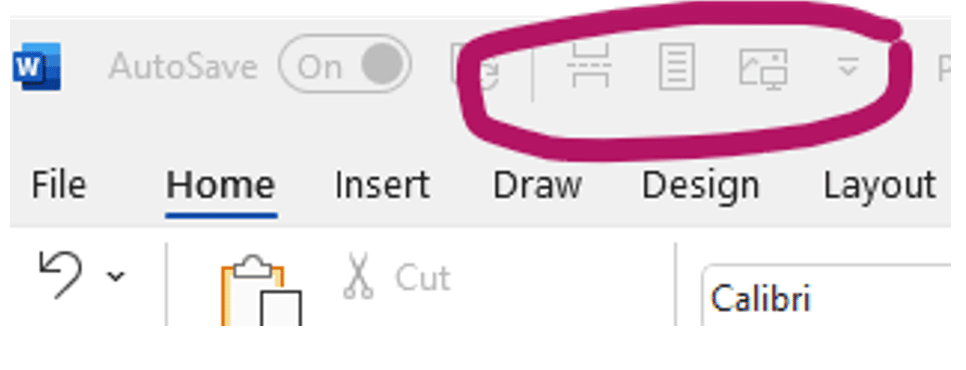
Once you realise the really useful features in Word, you can start adding them to the Quick Access Bar to make it much easier and quicker to use them. My go-to adds here are Insert File, Insert Picture, Insert Page Break and Format Painter. If you haven’t paid any attention to the Quick Access Bar before, it will be on the top of your window like this:
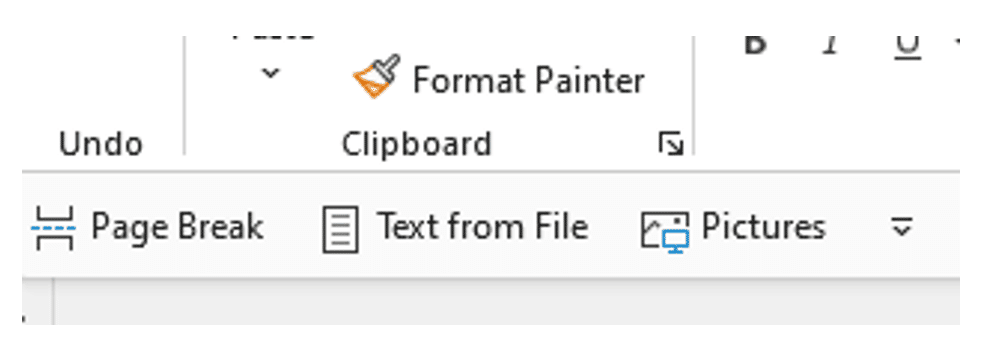
It can be moved to “Below the ribbon”, which I prefer as it has the wording beside the icons:
There are two features I add to the Quick Access Bar on Excel – Auto Sum and Filter. Auto Sum adds a sum formula into the cell you are currently in to save typing it out. Filter allows you to use the add filter and sort function, which I use a lot. This is really useful for things like transaction history, especially where the plan has been in place for ages and you just want to find something specific, like contributions or adviser fees.
4. Find & Replace
This is a great feature if you suddenly realise that Patricia is known as Pat or that a DFM has recently had a rebrand after you are 75% into your report. You can also use this feature to find a specific font or colour in your report, which is good if you are using certain formatting as a marker to check things later before finalising a report.
5. Snipping Tool
My final tip is about using the Windows Snipping Tool to insert snippets from a fact sheet, websites or other documents into Word as a picture. This can add the detail you want but without all the extra stuff you might find on a fact sheet. We do however have to be careful not to simplify information too much, and it will probably still be necessary to provide the fact sheet to the client as well.
I hope you found my tips useful, and if there are any areas of paraplanning that you are keen to try and do more quickly and efficiently, let me know and I will investigate further!